How To Start A WordPress Blog On Siteground
This page will take you through all the steps needed to start a WordPress blog on Siteground.
There are many, many great reasons to have a self-hosted blog:
- To share your valuable knowledge with others
- To promote your business or brand
- To be a leading voice in your field
- To make money!!
- And on and on…
As a freelance web developer it gives me an opportunity to share with others what I have learned on my journey as well as add value to others along the way, promote and market my business/services, as well as network with other professionals and potential clients.
I have chosen Siteground as my hosting company and could not be more pleased. The customer service is phenomenal, the price is affordable, there is free website migration, 99.9% uptime, free SSL, and other valuable features.
I would highly recommend that you start a WordPress blog on Siteground as they have quickly become one of the leading host providers in the web industry and a hosting provider that I myself personally recommend.
And…if you use my link you can sign up with them for as little as $3.95 a month!!
That's $47.40 for an entire year and a real steal!
Now some readers may be thinking, $47.40 is expensive!….I'll just go with Blogger or WordPress.com. Please do not! If you are serious about your business, your blog, and are looking to make money, look professional, and be in complete and total control of your site, it must be self-hosted.
And don't worry, the process is easy.
Here are the 4 easy steps to start a WordPress blog on Siteground today.
How To Start a WordPress Blog on Siteground
Start here —> SITEGROUNDClick to open in a new window and follow along
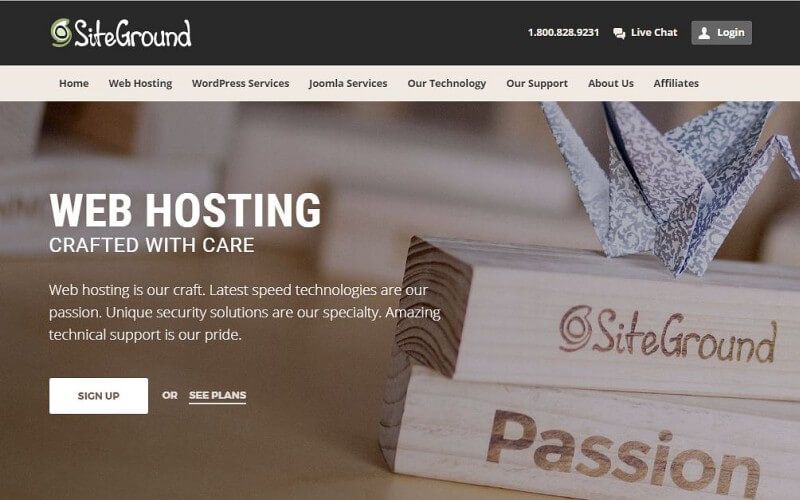
1. Buy hosting for your blog
The first step is to set up your hosting. Your hosting is your very own, personal, rented space on the web.
From the Siteground homepage, choose Sign Up. You will then see the following screen:
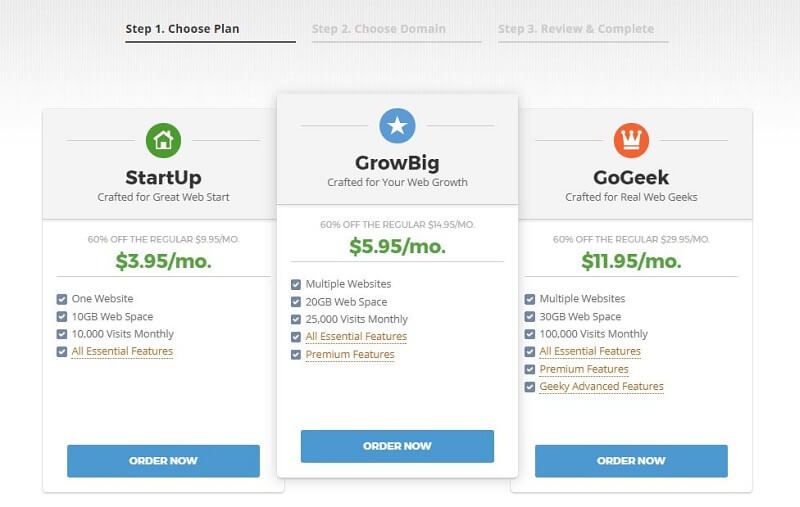
For most bloggers, the StartUp plan is enough. However, if you are planning to host multiple sites, looking for a free and secure SSL certificate, priority support, and a few other Premium Features, then you may want to look into the GrowBig plan.
So choose one and remember that you can upgrade at any point in the future.
2. Register your domain name
The second step, as we work to start a WordPress blog on Siteground, is to create your domain name. While your hosting is your rented space on the web, your domain is the address of your site.
So this will be your site url (i.e. google.com, siteground.com, etc.).
Many people use their names ( jonathandoe.com ), their business name ( skyrocketdesign.com ), or something unique but related to your business or brand.
Siteground also offers country specific and generic domain extensions, but I would normally recommend that you stick to the .com extension.
So Step 2 is shown here. You can register your new domain ($14.95 for an entire year!) or if you already have one, Siteground will migrate your site for FREE (which you will see if you choose "I already have a Domain"!
*Be sure to choose your Domain name wisely. Pick one that is simple and one that matches your brand/purpose.

3. Submit Your Order
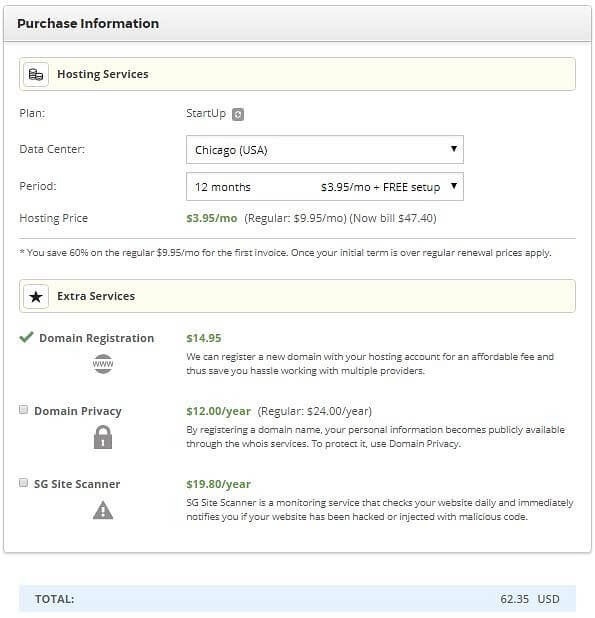
Step 3 is the confirmation/review screen.
On this screen you will setup your Siteground account and your payment info. You will then need to review the Purchase Information.
Here you will choose the length of hosting you want to pay for (12, 24, or 36). Twelve months of hosting WITH a year-long domain registration comes to a very affordable price of $62.35!!
Choose the data center nearest you. If you are in the U.S., you will choose Chicago. You can also add a couple of other features if you wish.
Once you have confirmed your selections, choose Pay Now.
4. Install WordPress on Siteground
Finally, now that we have a domain registered and our hosting secured, we need to install WordPress on our new site.
First you will need to go to My Accounts and choose Go to cPanel.
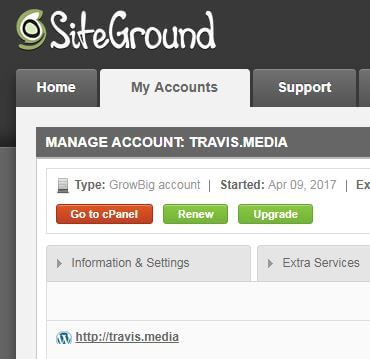
This will take you to your Control Panel where all the magic happens.
In your Control Panel, go to Autoinstallers and choose WordPress.
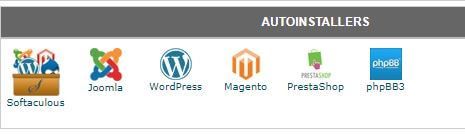
Then click either the Install button, or Install Now option below the paragraph.
Now you will be taken to the following screen:
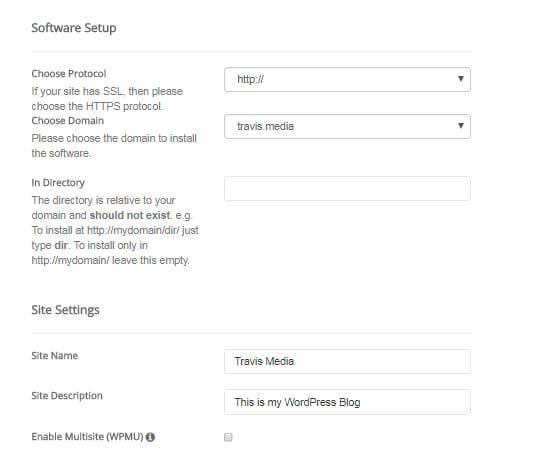
Choose your protocol. This is either http://www or just http:// and the choice is up to you. I personally do not like the www, so I opt for the http:// option.
*If your site has SSL then be sure to choose the https option instead. You can adjust this later as well if you are unsure.
Leave the "In Directory" field blank.
Now choose your Site Name and a description of your site. Again, you can adjust this later so don't start sweating.
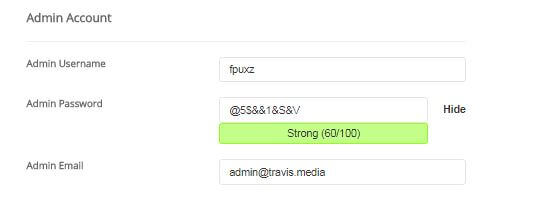
Finally, create an admin name and password. You will use this to login to your WordPress site.
And the theme, you can choose that later.
Now click Install. And that my friend is all it takes to start a WordPress blog on Siteground.
Congrats, you now have your very own WordPress site.
To Login, go to your domain and add /wp-admin to the end of it ( i.e. yoursite.com/wp-admin ) and it will bring your new WordPress login screen.