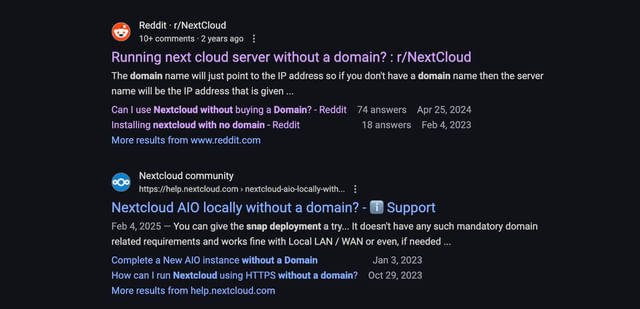
I see many forums out there where people are looking to deploy Nextcloud AIO WITHOUT needing a domain.

They don’t want to buy one, or they just don’t really need it since they will be running Nextcloud locally within a private network.
Well, in this post I’ll provide a working solution, one where we can still use a domain name of our choosing (local DNS) while also utilizing Caddy to generate a self signed certificate.
Here’s how to do it:
Step 1 - Start with this Docker Compose File
Here is Nextcloud’s official compose file for Nextcloud All-In-One - https://github.com/nextcloud/all-in-one/blob/main/compose.yaml
Copy this and paste it into a compose.yaml file on the server you want to deploy Nextcloud on. Be sure to install Docker first!
We’ll simply make a few changes to this.
Step 2 - Tweak the Docker Compose File
Changes from top to bottom:
- Comment out ports 80:80 and 8443:8443 which the comments tell you to remove when using a reverse proxy.
- Uncomment APACHE_PORT and APACHE_IP_BINDING and leave default (also remember to uncomment the
environment:parent) - Uncomment SKIP_DOMAIN_VALIDATION and set to
true. This will allow us to successfully get past the screen where we have to enter our domain. But since we have a self-signed cert, it will still work afterward. - Uncomment all of the
caddy:section, theconfigssection, as well as the 4 caddy volumes at the bottom. - Finally, change
cloud.example.comto any domain you want and in the first line of this code block, above reverse_proxy addtls internal.
Final edited file is available below (but don’t skip ahead yet).
Step 3 - Add Your Domain to Local DNS
Whatever your domain is, let’s say you chose mycloud.home, then be sure to add an A record in your local DNS.
And since we set our network_host for the Caddy config to “host,” we should use the IP of our host machine (the machine we deploy Nextcloud and Caddy on).
In my setup, I am running Pi-Hole and am using it as my DNS server so I simply need to add an A record of:
| Domain | IP |
|---|---|
| mycloud.home | 192.168.1.111 |
*Update the domain and IP to match your setup.
Step 4 - Deploy
Run docker compose up -d to deploy Nextcloud AIO.
Step 5 - Setup
Initially, you will visit the IP address of your host machine with the port of 8080. So in my case, I’ll visit https://192.168.1.111:8080.
Next, copy your passphrase, use your passphrase to login, and in the next screen enter your domain. Remember, we set this not to verify, so it will work. Just be sure you put in the exact domain you set in your Caddyfile.
After you choose your additional apps and deploy them, grab your administrator password and proceed to the domain that you set.
You WILL get a browser warning but this is because it is self-signed.
Accept the risk and proceed anyway.
And if you view your certificate in the browser you will see it’s verified by Caddy Local Authority.

Final Compose File
services:
  nextcloud-aio-mastercontainer:
    image: ghcr.io/nextcloud-releases/all-in-one:latest
    init: true
    restart: always
    container_name: nextcloud-aio-mastercontainer
    volumes:
      - nextcloud_aio_mastercontainer:/mnt/docker-aio-config
      - /var/run/docker.sock:/var/run/docker.sock:ro
    network_mode: bridge
    ports:
      - 8080:8080
    environment:
      APACHE_PORT: 11000
      APACHE_IP_BINDING: 127.0.0.1
      SKIP_DOMAIN_VALIDATION: true

  caddy:
    image: caddy:alpine
    restart: always
    container_name: caddy
    volumes:
      - caddy_certs:/certs
      - caddy_config:/config
      - caddy_data:/data
      - caddy_sites:/srv
    network_mode: 'host'
    configs:
      - source: Caddyfile
        target: /etc/caddy/Caddyfile
configs:
  Caddyfile:
    content: |
      # Adjust cloud.example.com to your domain below
      https://cloud.example.com:443 {
        tls internal
        reverse_proxy localhost:11000
      }

volumes:
  nextcloud_aio_mastercontainer:
    name: nextcloud_aio_mastercontainer
  caddy_certs:
  caddy_config:
  caddy_data:
caddy_sites:This page may contain affiliate links. Please see my affiliate disclaimer for more info.


