I recently was on a project that needed a .NET Core API, a React front end, Entity Framework Core, and Postgres.
I had worked in React before as well as .NET, but never the two together.
This post is the culmination of how you would get started on a project with such tools. And using the dotnet CLI (so that we can use VSCode and not be dependent on Visual Studio).
We will:
- Bootstrap the project using the dotnet CLI
- Create the Postgres database locally
- Set up a Model
- Set up the DB Context
- Scaffold our API Controller
- Use a Code-First approach to migrating our DB Schema FROM our project TO our DB.
- Test that it all works with Postman.
Let’s get going…
Video version – (or watch it on YouTube)
Or if you prefer to read the article, read on!
Prerequisites
Let's Build a React App with a .NET Api
1. Bootstrap the .NET/React Project
In a new project folder run:
dotnet new react -o reactnet-tutorial
cd reactnet-tutorial
You now have a .NET project with a React front end found in the ClientApp folder.
Next cd into your ClientApp folder and run npm install to install your React dependencies.
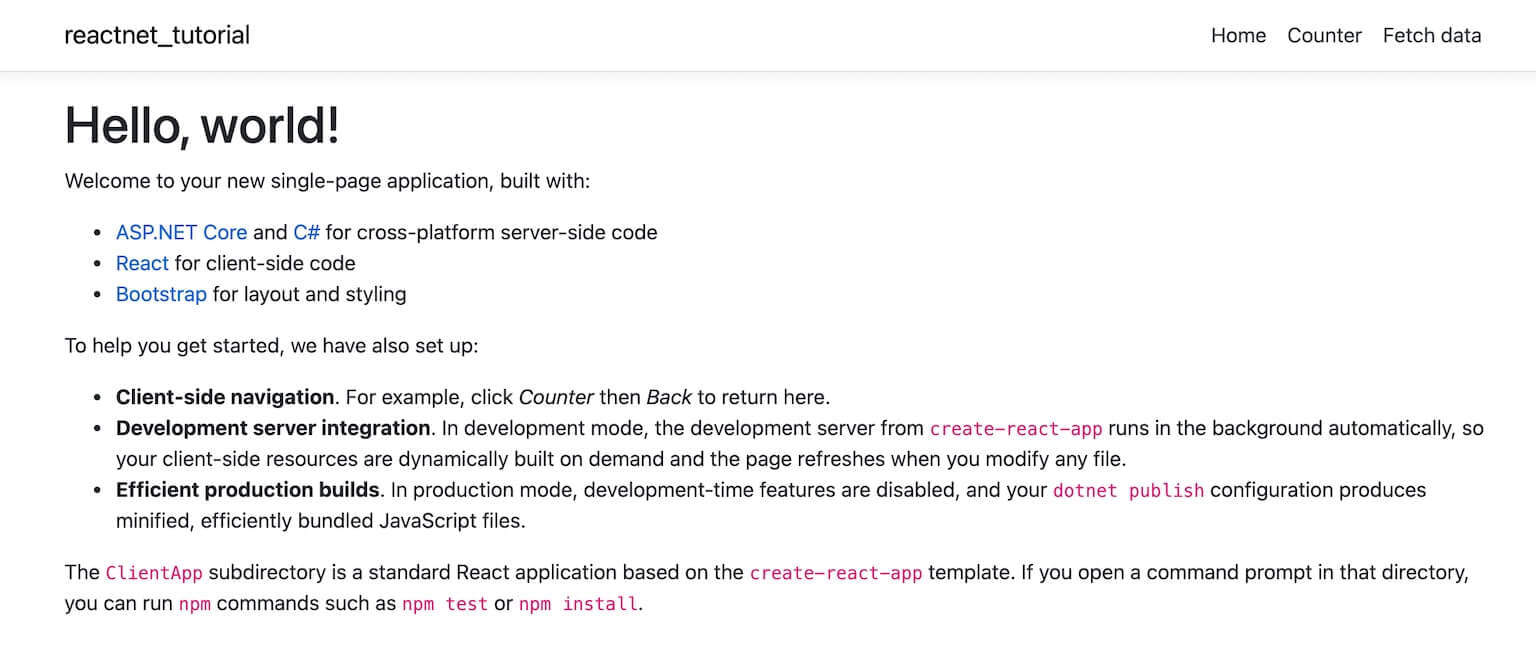
Now cd back out to the root folder and run dotnet run and you should see the following at https://localhost:5001:
2. Set Up the Database
We’re going to use Postgres for this tutorial. No matter where you are using it (locally, AWS, Azure, etc.), the concepts are the same.
I am going to use the Postgres App for Mac. It’s super easy to use.
When you open the app interface you’ll see all your databases (you may not have any). I have many that I’ve used with various tutorials:
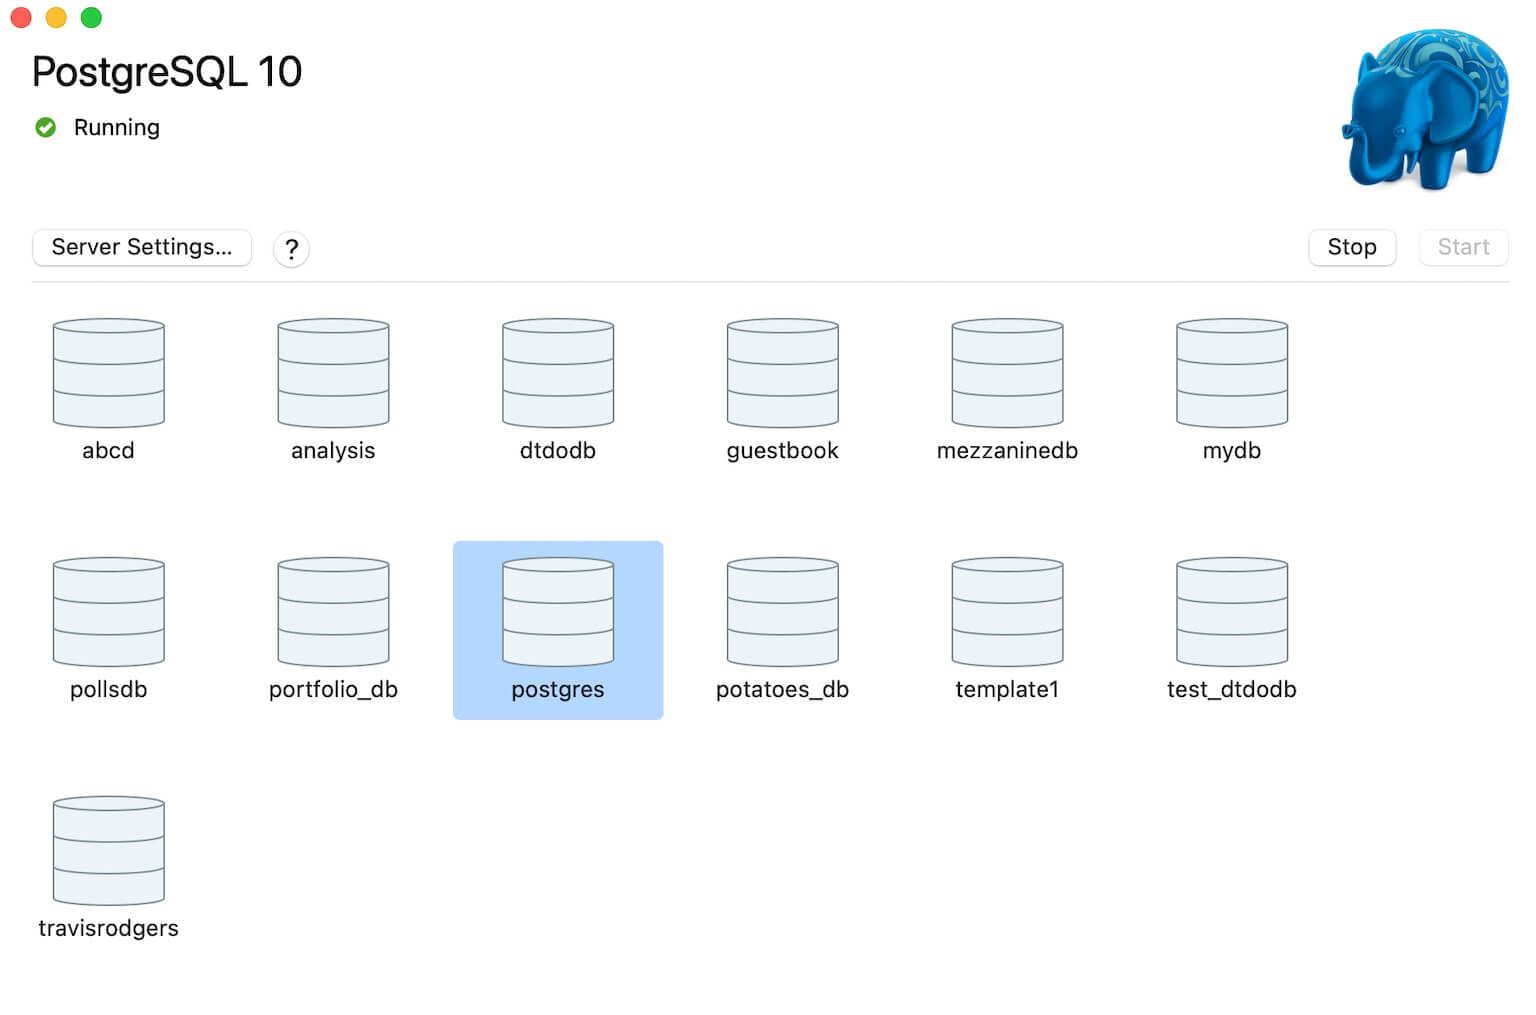
Click on the postgres database and it should open a terminal window with a postgres prompt for you to issue commands.
Enter the following commands (change username and password accordingly):
CREATE DATABASE reactnet;
CREATE USER yourusername WITH ENCRYPTED PASSWORD 'yourpassword';
GRANT ALL PRIVILEGES ON DATABASE reactnet TO youruser;
Next, let’s add the Postgres nuget package to our .NET project by running:
dotnet add package Npgsql.EntityFrameworkCore.PostgreSQL --version 5.0.5Add your connection string in the appsettings.Development.json file like so:
"ConnectionStrings": {
    "PSQLConnection": "Server=localhost;Port=5432;Database=reactnet;User Id=yourusername;Password=yourpassword"
},
3. Set Up Your Model
You Model(s) really depends on your project and what you will be building. We’ll just create a Note model as if we are creating a Notes app.
So create a new folder called Models in the root and add a file called Note.cs
mkdir Models
cd Models && touch Note.cs && cd ..
And add the following to it. We’ll just have an Id and a Title and Description for the Notes:
namespace reactnet_tutorial.Models
{
    public class Note
    {
        public int Id { get; set; }
        public string Title { get; set; }
        public string Description { get; set; }
    }
}
4. Set Up The DB Context
So we have our Database and we have a Note model. Now we need to set up our DB Context.
First, add the EntityFrameworkCore package to the project:
dotnet add package Microsoft.EntityFrameworkCore --version 5.0.5And let’s create a Data folder in the project root and a file called MyDBContext.cs:
mkdir Data
cd Data && touch MyDBContext.cs && cd ..
Inside the MyDBContext file, we’ll declare our DB Context with our Note Model:
using Microsoft.EntityFrameworkCore;
using reactnet_tutorial.Models;

namespace reactnet_tutorial.Data
{
    public class MyDBContext : DbContext
    {
        public MyDBContext(DbContextOptions<MyDBContext> options) : base(options) { }
        public DbSet<Note> Notes { get; set; }
    }
}
5. Use Entity Framework For All The Dirty Work
Now let’s inject our backend configuration and scaffold our DB.
First, let’s inject the service into our Configuration. In Startup.cs, in the ConfigureServices function add the DBContext and PSQL connection to our services:
services.AddDbContext<MyWebApiContext>(options =>
    options.UseNpgsql(
        Configuration.GetConnectionString("PSQLConnection")
    )
);
Now we can use what Microsoft calls “Reverse Engineering” to scaffold our project based on our already declared DBContext.
This includes a command for creating our API Routes, our DB Schema, and tracking our DB Migrations.
To utilize this functionality you’ll need to download the CLI Tools by running:
dotnet tool install --global dotnet-ef
dotnet tool install --global dotnet-aspnet-codegenerator
Check to be sure the dotnet-ef cli is working by running dotnet ef
We’ll also need to add a few more packages to accommodate the scaffolding:
dotnet add package Microsoft.EntityFrameworkCore.Design --version 5.0.5
dotnet add package Microsoft.VisualStudio.Web.CodeGeneration.Design --version 5.0.2
dotnet add package Microsoft.EntityFrameworkCore.SqlServer --version 5.0.5*The dotnet-asp-codegenerator can be wonky and not set up the PATH for you. You can prefix the command with $HOME/.dotnet/tools on a Mac or Linux and %USERPROFILE%.dotnet\tools on Windows
Now let’s run the following to generate our Note API Routes in a new file called NotesController (I’m on a Mac):
$HOME/.dotnet/tools/dotnet-aspnet-codegenerator controller -name NotesController -async -api -m Note -dc MyDBContext --relativeFolderPath Controllers- async flag to make async routes
- api flag to generate a REST style api with no views
- m flag for the Model
- dc flag for the DBContext
And now you should have generated ALL your Note API REST routes in a file called NotesController.cs.
Finally, we need to migrate our MOdel schema to the database so that we can interact with it.
First, generate a Migration called InitialCreate:
dotnet ef migrations add InitialCreateThis should have created a Migrations folder in your project with your “InitialCreate” files/schema.
Now let’s apply the migration to your DB:
dotnet ef database updateDone.
Testing With Postman
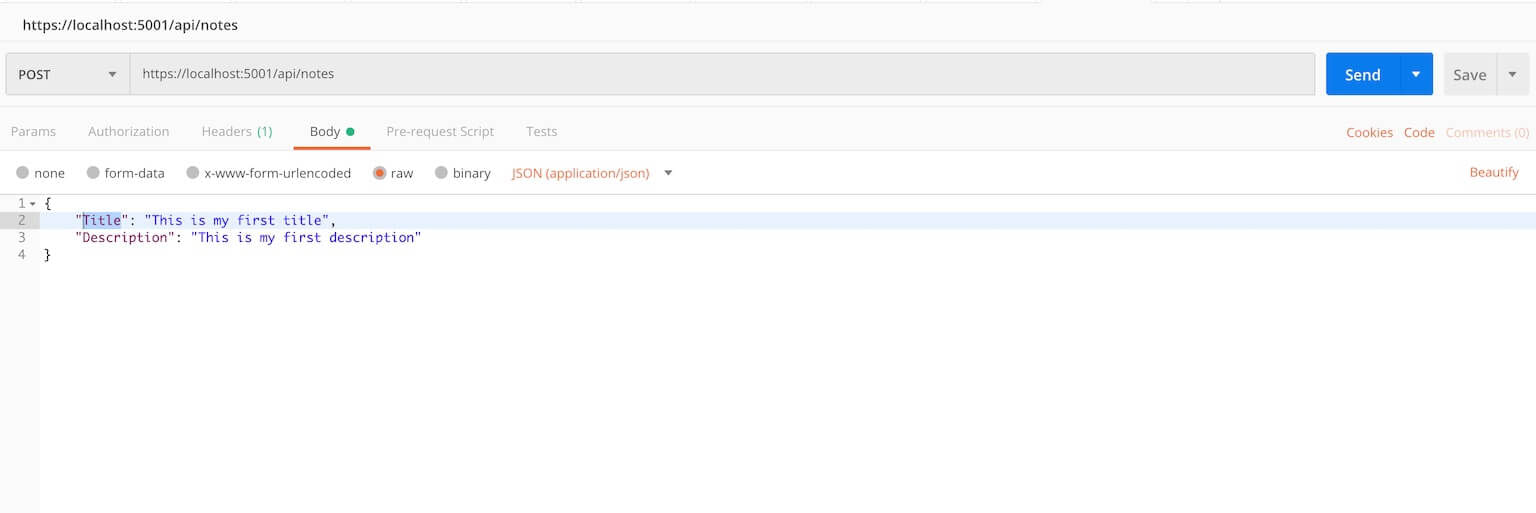
Now we can use Postman to create (POST) a new Note:
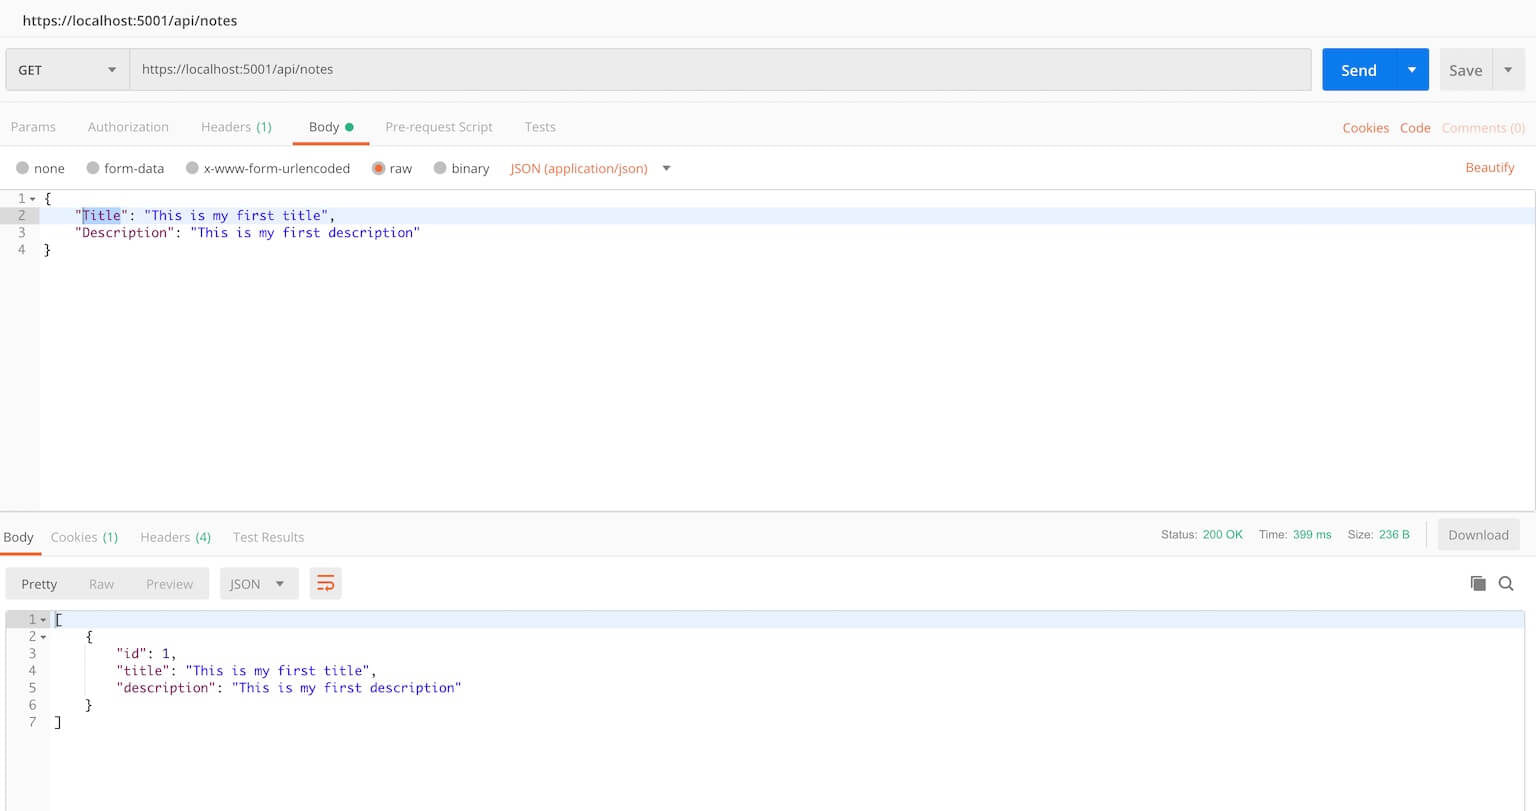
And we can GET our notes as well:
Now use your React skills to build out your front end, React Router to define your routes, and your API Controller and Model to gather data.
Final Code
The final code can be found here on Github.
This page may contain affiliate links. Please see my affiliate disclaimer for more info.