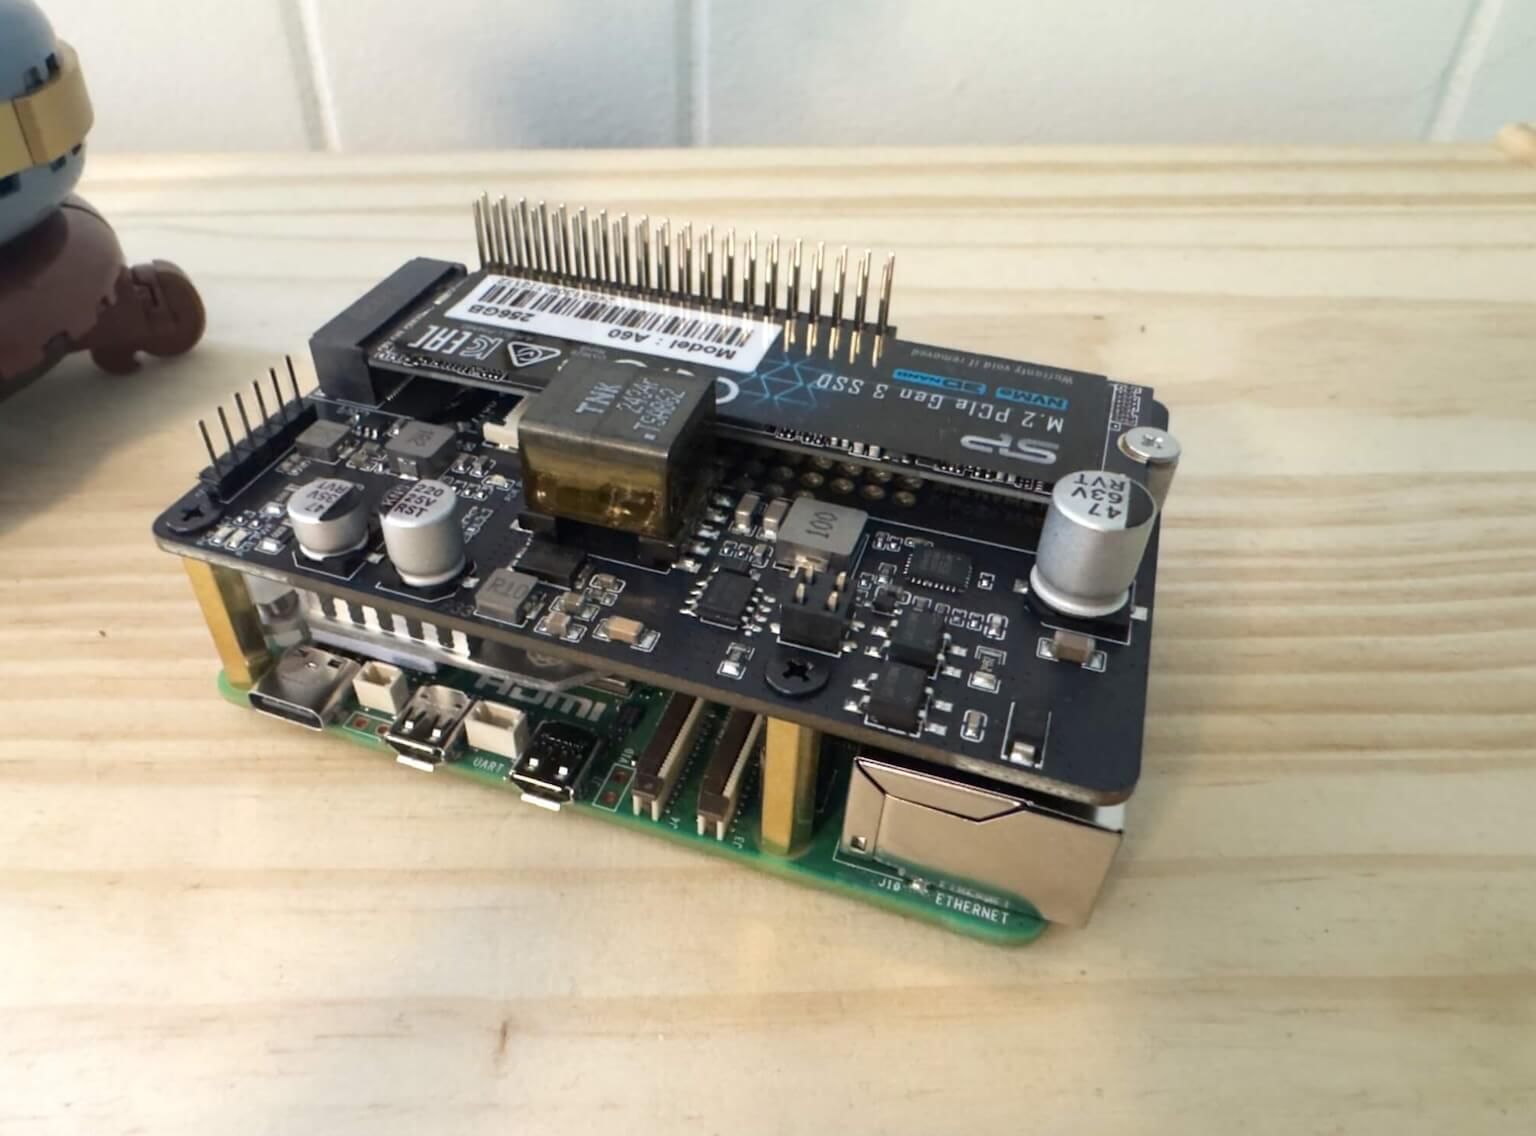
In this post, I’ll walk you through installing Kubernetes on two Raspberry Pi 5 machines for your homelab (or any similar setup).
The first time may feel daunting, but don’t worry, I’ll provide automation scripts to make it easier.
If you do NOT have at least one Raspberry Pi 5, what are you even doing with your life? Here’s my guide to buying your first Raspberry Pi 5 and setting it up.
Step 1: Prepare Raspberry Pi 5 for Kubernetes
Before installing Kubernetes on a Raspberry Pi, some setup is needed to make it an optimal base.
I’ve created a video that walks you through every step of preparing your Pis, including:
- Installing Ubuntu Server on both Raspberry Pis with Raspberry Pi Imager
- Adding your private key to each Pi and enabling SSH access
- Assigning a static IP address for your
eth0(wired) network driver and making it the primary connection
(wired is more stable than wirelesswlan0and prevents connection or timeout issues later) - Using Ubuntu’s Netplan service to assign static IPs and set
eth0as preferred
Once we have static IP addresses set up, we’ll be ready to install Kubernetes on these Pis via the kubeadm tool (check Part 2).
Here’s the video to set up and prepare your Pi for Kubernetes dominance:
Tip: Work through this video manually at least once to understand the steps. After that, you can speed things up with my automation script to set up both of your Raspberry Pi 5 machines automatically.
Step 2: Install Kubernetes on Raspberry Pi 5 with kubeadm
Now that your Raspberry Pi 5 machines are prepared, it’s time to install Kubernetes.
We’ll use the kubeadm tool.
Many homelab users prefer K3s because it’s lightweight, but I recommend kubeadm for a production-like setup. If you’re pursuing Kubernetes certifications, kubeadm gives you experience closer to real-world deployments. (Don’t worry, I’ll also provide an automation script later.)
Note: kubeadm isn’t limited to Raspberry Pis or Ubuntu. You can also use DigitalOcean droplets, AWS EC2 instances, or any Linux servers.
In this Part 2 video, we’ll set up a Kubernetes cluster on two Raspberry Pi 5s:
- One Pi will be the control plane node (master)
- The other will be the worker node
Here’s what we’ll cover step by step:
- Prerequisites
- Enabling IPv4 Packet Forwarding
- Installing Containerd
- Configuring the Systemd Cgroup Driver in Containerd
- Installing kubeadm, kubelet, and kubectl
- Running kubeadm to set up the control plane
- Running the join command to add the worker node
- Installing the Flannel pod network
Again, I recommend working through this manually at least once.
After that, use my automation script to handle the entire installation. Be sure to read the instructions carefully, as you’ll need a slight adjustment between the control plane and worker nodes.
This page may contain affiliate links. Please see my affiliate disclaimer for more info.